Heroku Deployment
This document outlines the steps necessary for the installation and setup of a new Metecho instance in Heroku. Thanks to Claudio Moraes for developing this setup guide.
Before you start, ensure you are familiar with Heroku, personal vs enterprise account, private spaces, security guidelines, pipeline, Heroku drains, and all related Heroku functionality.
Requirements
Heroku Enterprise Account
GitHub Account
Your repository must be set up as a CumulusCI project and hosted on github.com.
Pre-Deployment
Create a Private Space on Heroku (Optional)
If you don’t already have a private space to use, create a Private Space to contain the Metecho app. (This ensures that communication between the app and its datastores is on a private network.)
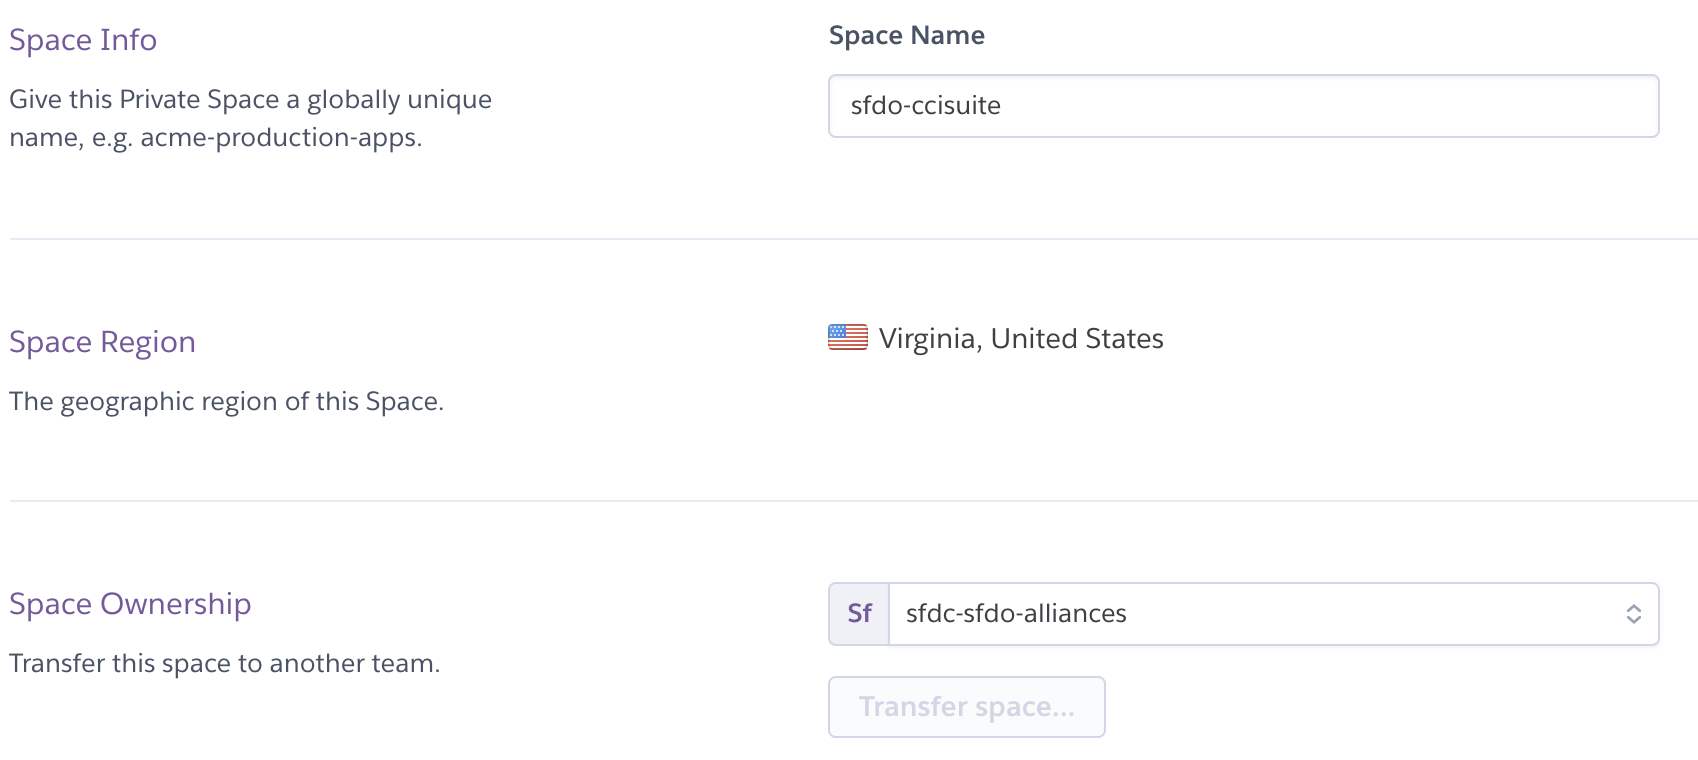
It will take a few minutes for the Private Space creation process to complete.
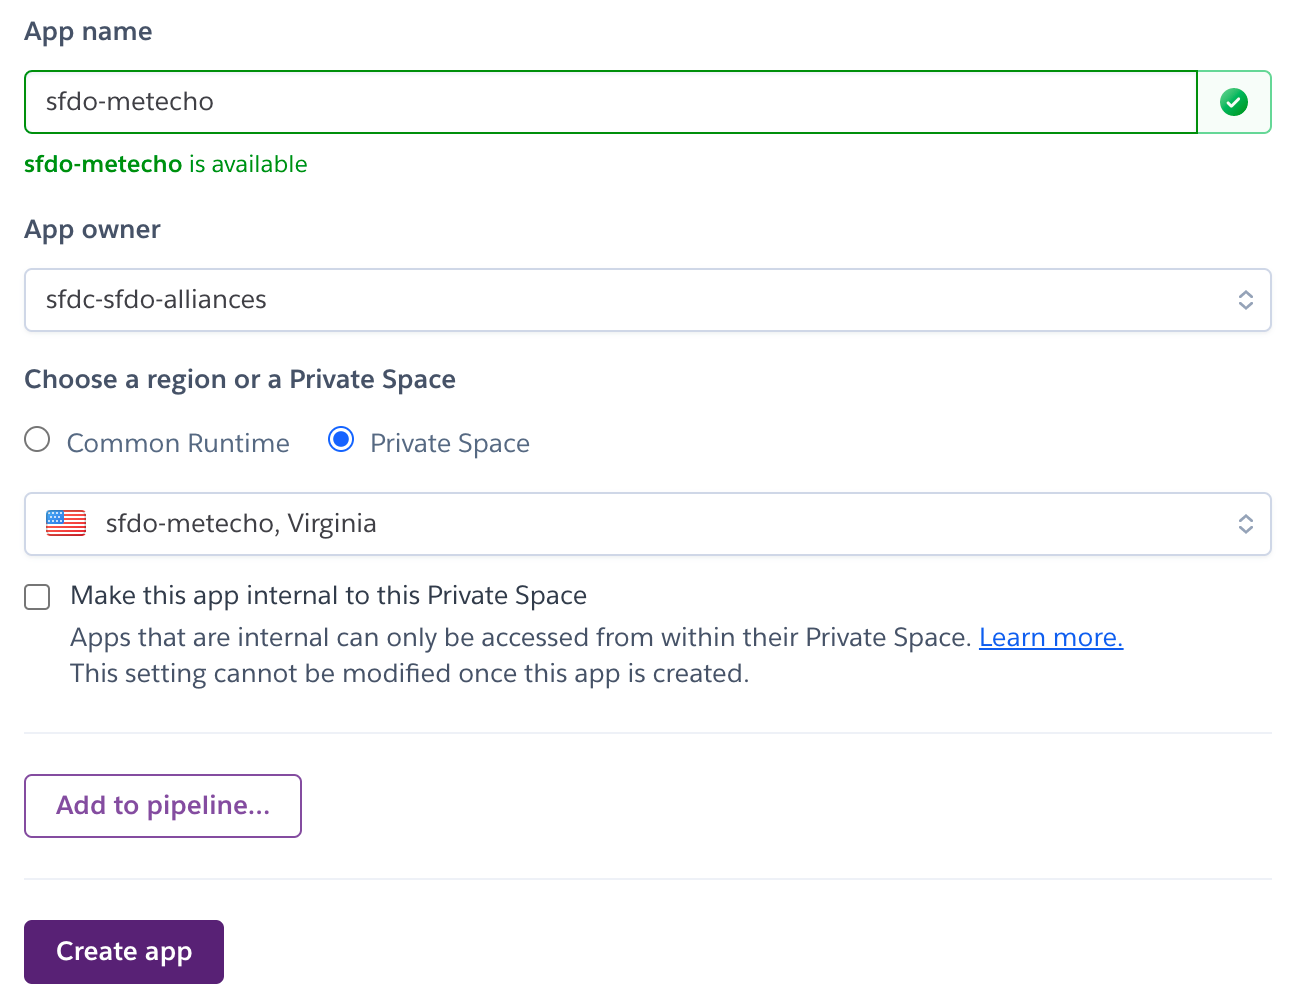
Create Metecho App
Create an app in the Private Space where you will deploy Metecho. If you’re not using a Private Space, create the app in your preferred Heroku account or team.
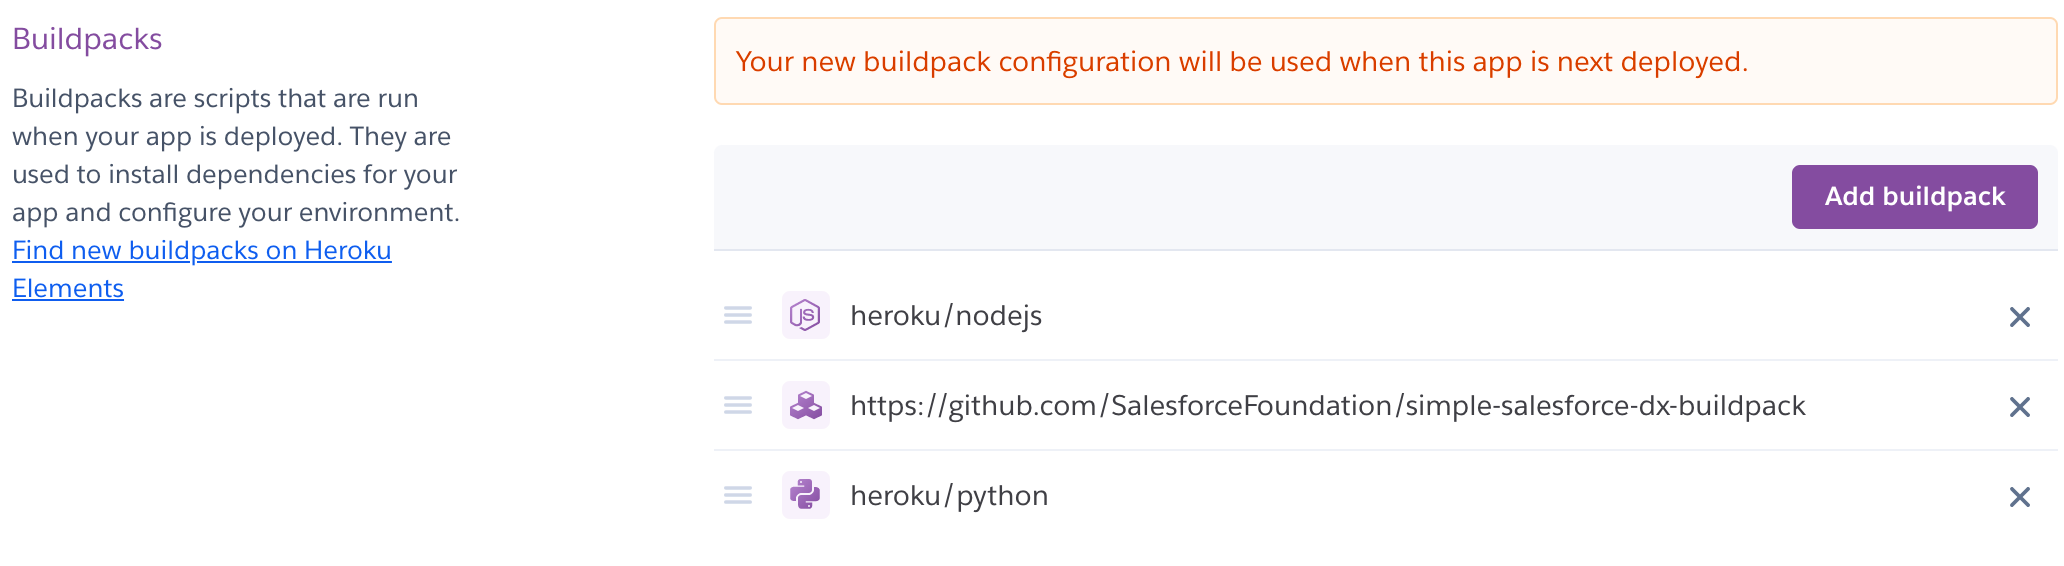
Buildpack Configuration
Navigate to the Settings tab and add the following Buildpacks, in this order:
heroku/nodejshttps://github.com/SalesforceFoundation/simple-salesforce-dx-buildpack.githeroku/python
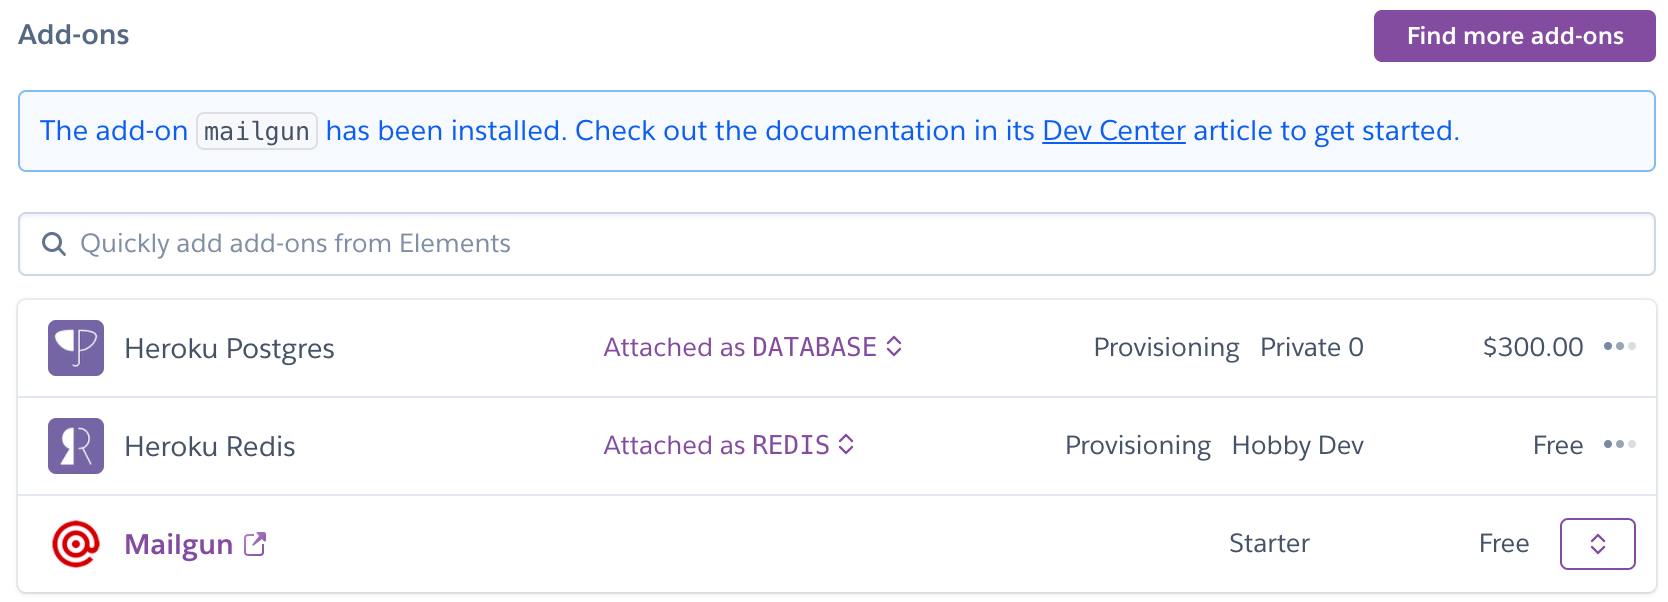
Data Addons Configuration
Navigate to the Resources tab and add and configure the following Data addons:
Heroku Postgres - Private 0 plan, Postgres will be inside the private space
Heroku Redis - Private 7 plan, Redis will be inside the private space. Set Redis addon’s timeout to 0.
Mailgun
If you are not using a Private Space, you may be able to use smaller and less expensive Heroku data resources.
You should see a screen similar to the following after adding the addons:
After provisioning finishes,set the timeout to 0 using the Heroku CLI command line:
heroku redis:timeout --app yourmetechoapp —seconds 0
Ensure you are first logged in to Heroku CLI - replace ‘yourmetechoapp’ with the name of your Heroku app.
Here is an example of what the command line would look like (APPNAME and REDIS would be specific to your deployment):

Create a new GitHub App
Metecho uses a GitHub app to interact with the GitHub API.
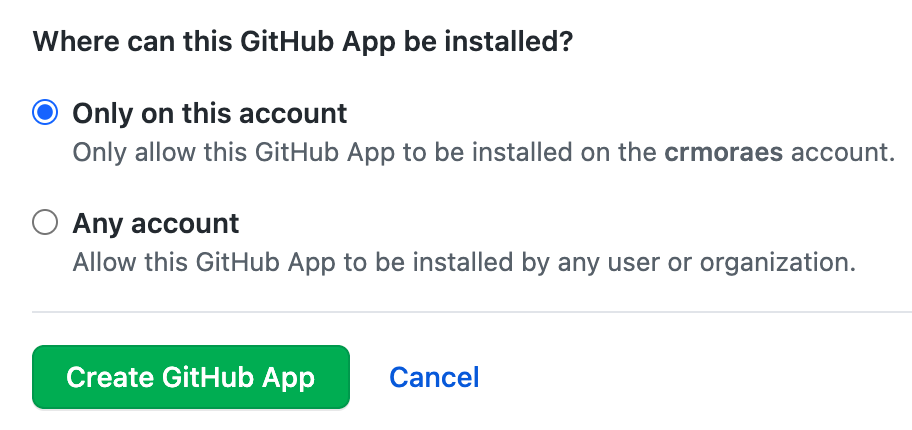
Create a GitHub app to represent this instance of Metecho with the following configuration. Replace yourmetechoapp with the name of your Heroku app.
GitHub App name: Choose its name
Homepage URL:
https://yourmetechoapp.herokuapp.com/Callback URL: Should be like
https://yourmetechoapp.herokuapp.com/accounts/github/login/callback/but replace the domain with your app’s domainSelect “Request user authorization (OAuth) during installation”
Webhook URL:
https://yourmetechoapp.herokuapp.com/api/hook/but replace the domain with your app’s domain.Webhook secret. See Securing your webhooks for additional information on how to set a secret token.
ruby -rsecurerandom -e 'puts SecureRandom.hex(20)'
Configure the following permissions on your GitHub app:
Repository permissions:
Administration: read & write. This permission is used to create repositories and teams.
Contents: read & write. This permission is used to create commits.
Metadata: read-only
Pull requests: read & write. This permission is used to create and comment on Pull Requests.
Commit statuses: read & write. This permission is used to reflect build statuses.
Organization permissions:
Members: read & write. This permission is used to manage teams.
User permissions:
Email addresses: read-only. This permission is used to email users who are assigned to tasks.
Subscribe to events:
Pull request
Pull request review
Push
Click on Create GitHub App.
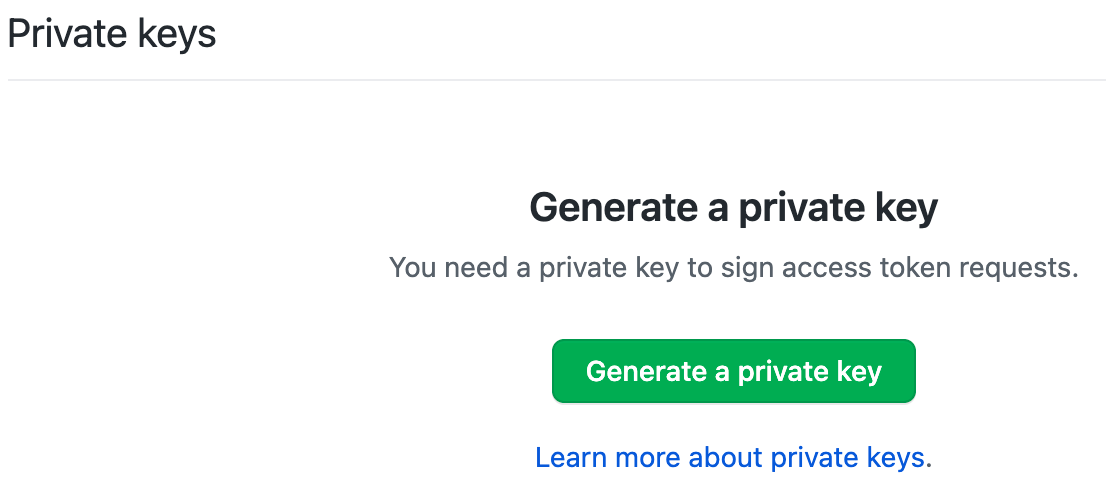
You should see the following message at the top

Click on the “generate a private key” link on the message or scroll down until you see the “Generate a private key” button and then click on it. Make sure you store the generated private key as you will need next.
Salesforce Dev Hub Org
In order to create scratch orgs you’ll need a Salesforce org with the Dev Hub feature enabled. If you wish to use use a minimal permission model with Metecho, which we recommend, configure your Dev Hub as follows.
Add a new Profile named Metecho by cloning the Minimum Access profile. Configure as follows:
Enable CRUD permissions for the Scratch Org Info, Active Scratch Org, and Namespace Registry objects
Enable the View Setup and Configuration permission. Metecho needs this in order to check how much scratch org capacity is remaining.
Add Login IP Ranges to only allow logins from the Space Outbound IPs for your Heroku private space
Add a new User using this profile.
Create a new Salesforce Connected App
Metecho uses a Salesforce Connected app to authenticate to a Dev Hub org and scratch orgs using OAuth2. We suggest creating this Connected App in a Salesforce org owned by your team.
In Setup, go to App Manager and click the New Connected App button. Configure as follows:
Enable OAuth Settings: Checked.
Callback URL:
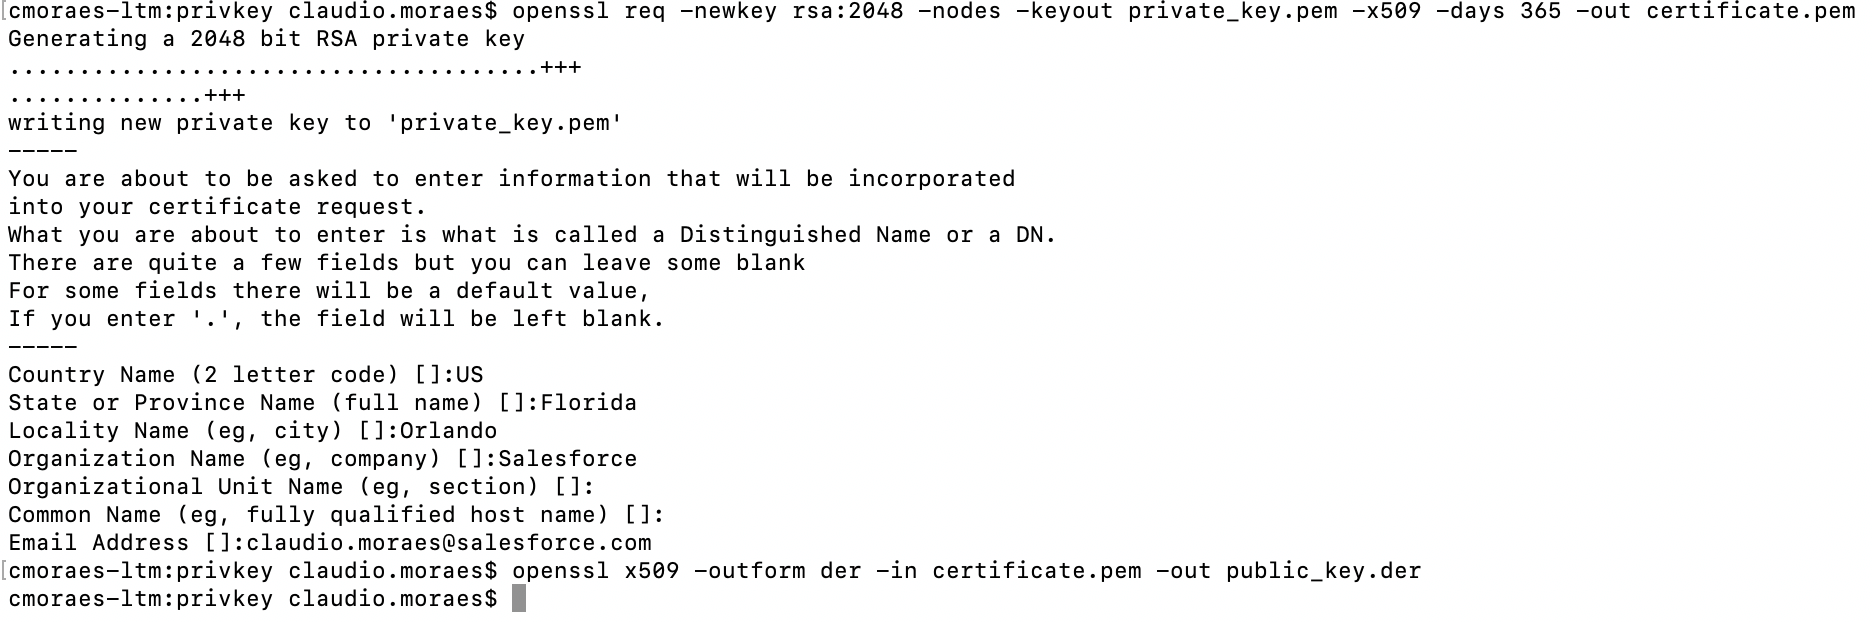
https://yourmetechoapp.herokuapp.com/accounts/salesforce/login/callback/(replaceyourmetechoappwith the app’s actual domain)Use digital signatures: Create a private key and certificate, then upload the certificate here.
openssl req -newkey rsa:2048 -nodes -keyout private_key.pem -x509 -days 365 -out certificate.pem
Selected OAuth Scopes:
Full access (full)
Perform requests on your behalf at any time (refresh_token, offline_access)
Provide access to your data via the Web (web)
Save your Connected App
After saving:
Click the Manage button
Click the Edit Policies
Set Permitted Users to “Admin approved users are pre-authorized” and save
In the Profiles related list:
Click the Manage Profiles button
Select the Metecho profile for pre-authorized users and save
This will ensure that only users with that profile can log in using this Connected App.
Deployment
Heroku Config Vars
Set the following Django config vars for the Heroku app:
ADMIN_API_ALLOWED_SUBNETS:0.0.0.0/0**NOTE: **If the private space already has Trusted IP Ranges specified, you can set ADMIN_API_ALLOWED_SUBNETS to 0.0.0.0/0
DB_ENCRYPTION_KEY: Runpython -c 'from cryptography.fernet import Fernet; print(Fernet.generate_key().decode())'to generate a key for this.DEFAULT_FROM_EMAIL:no-reply@yourmetechoapp.org(replace with your actual domain)DJANGO_ADMIN_URL: an arbitrary URL slug at which you will access the Django Admin UI.By default, admin users can access Django admin UI at
/admin. It is recommended that you define a different path to limit discoverability.
DJANGO_ALLOWED_HOSTS:yourmetechoapp.herokuapp.com(replace with your actual domain)Determines which domains Django will accept traffic for. Set it to a comma-separated list of the domains that can be used to access the app
DJANGO_SECRET_KEY: Used for signing session cookies. Set this to an arbitrary string.ruby -rsecurerandom -e 'puts SecureRandom.hex(20)'DJANGO_HASHID_SALT: Used for hashing record ids for use in the API. Set this to an arbitrary string.DJANGO_SETTINGS_MODULE:config.settings.production
Set the following GitHub config vars for the Heroku app:
GITHUB_APP_ID: App ID for the GitHub app - On the GitHub App > General option > you should find the App IDGITHUB_APP_KEY: Private key for the GitHub app - this is the private key that you generated earlier.GITHUB_CLIENT_ID: Client ID for the GitHub app - On the GitHub App > General option > you should find the Client IDGITHUB_CLIENT_SECRET: Client secret for the GitHub app - On the GitHub App > General option > you should see your Client secrets or be able to generate a new client secretGITHUB_HOOK_SECRET: Webhook secret for the GitHub app - This is the same Webhook secret that you generated and used when creating your GitHub app
Set the following Salesforce config vars for the Heroku app:
SF_CALLBACK_URL:https://yourmetechoapp.herokuapp.com/accounts/salesforce/login/callback/. This is the same value that was entered for Callback URL when creating the Connected App.SF_CLIENT_ID: Consumer Key from the Connected AppSF_CLIENT_KEY: Private key that was used to sign the certificate for the Connected AppSF_CLIENT_SECRET: Consumer Secret from the Connected App
Deploy Metecho
Follow these steps to deploy the Metecho code into your Heroku environment.
Clone the project:
$ git clone https://github.com/SFDO-Tooling/Metecho.git
$ cd Metecho
Add the Heroku remote:
$ heroku git:remote -a yourmetechoapp
Deploy the local project to Heroku:
$ git add .
$ git commit -am "Initial set up"
$ git push heroku main
Setup
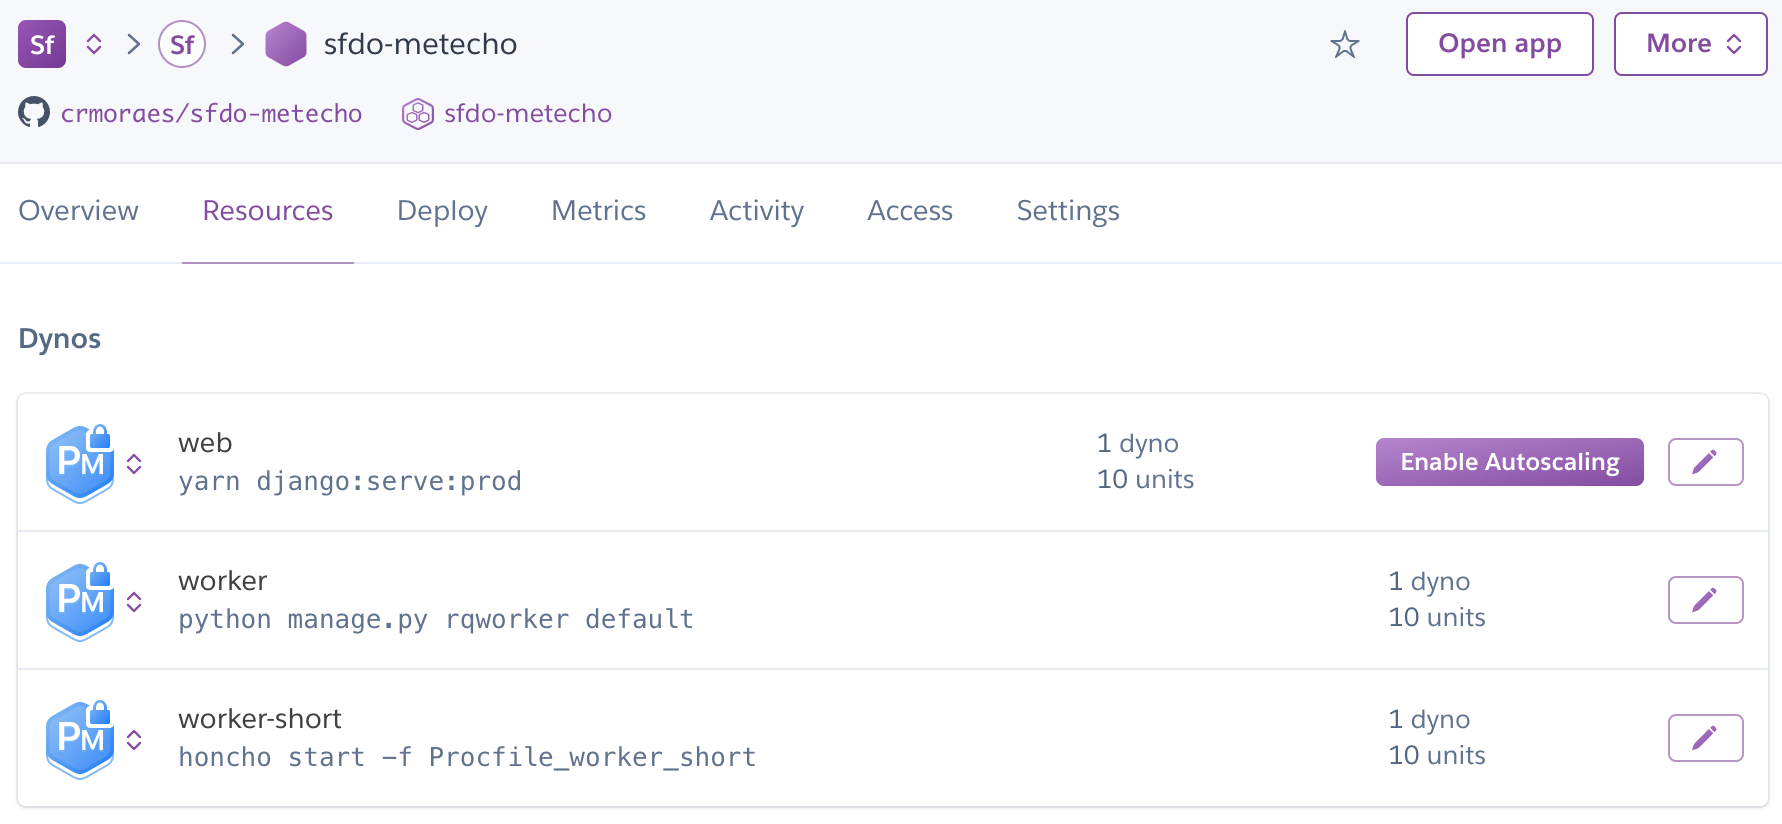
On the app’s Heroku Resources tab, scale your dynos:
webdyno: at least 1workerdyno: at least 1worker-shortdyno: exactly 1
Admin User Configuration
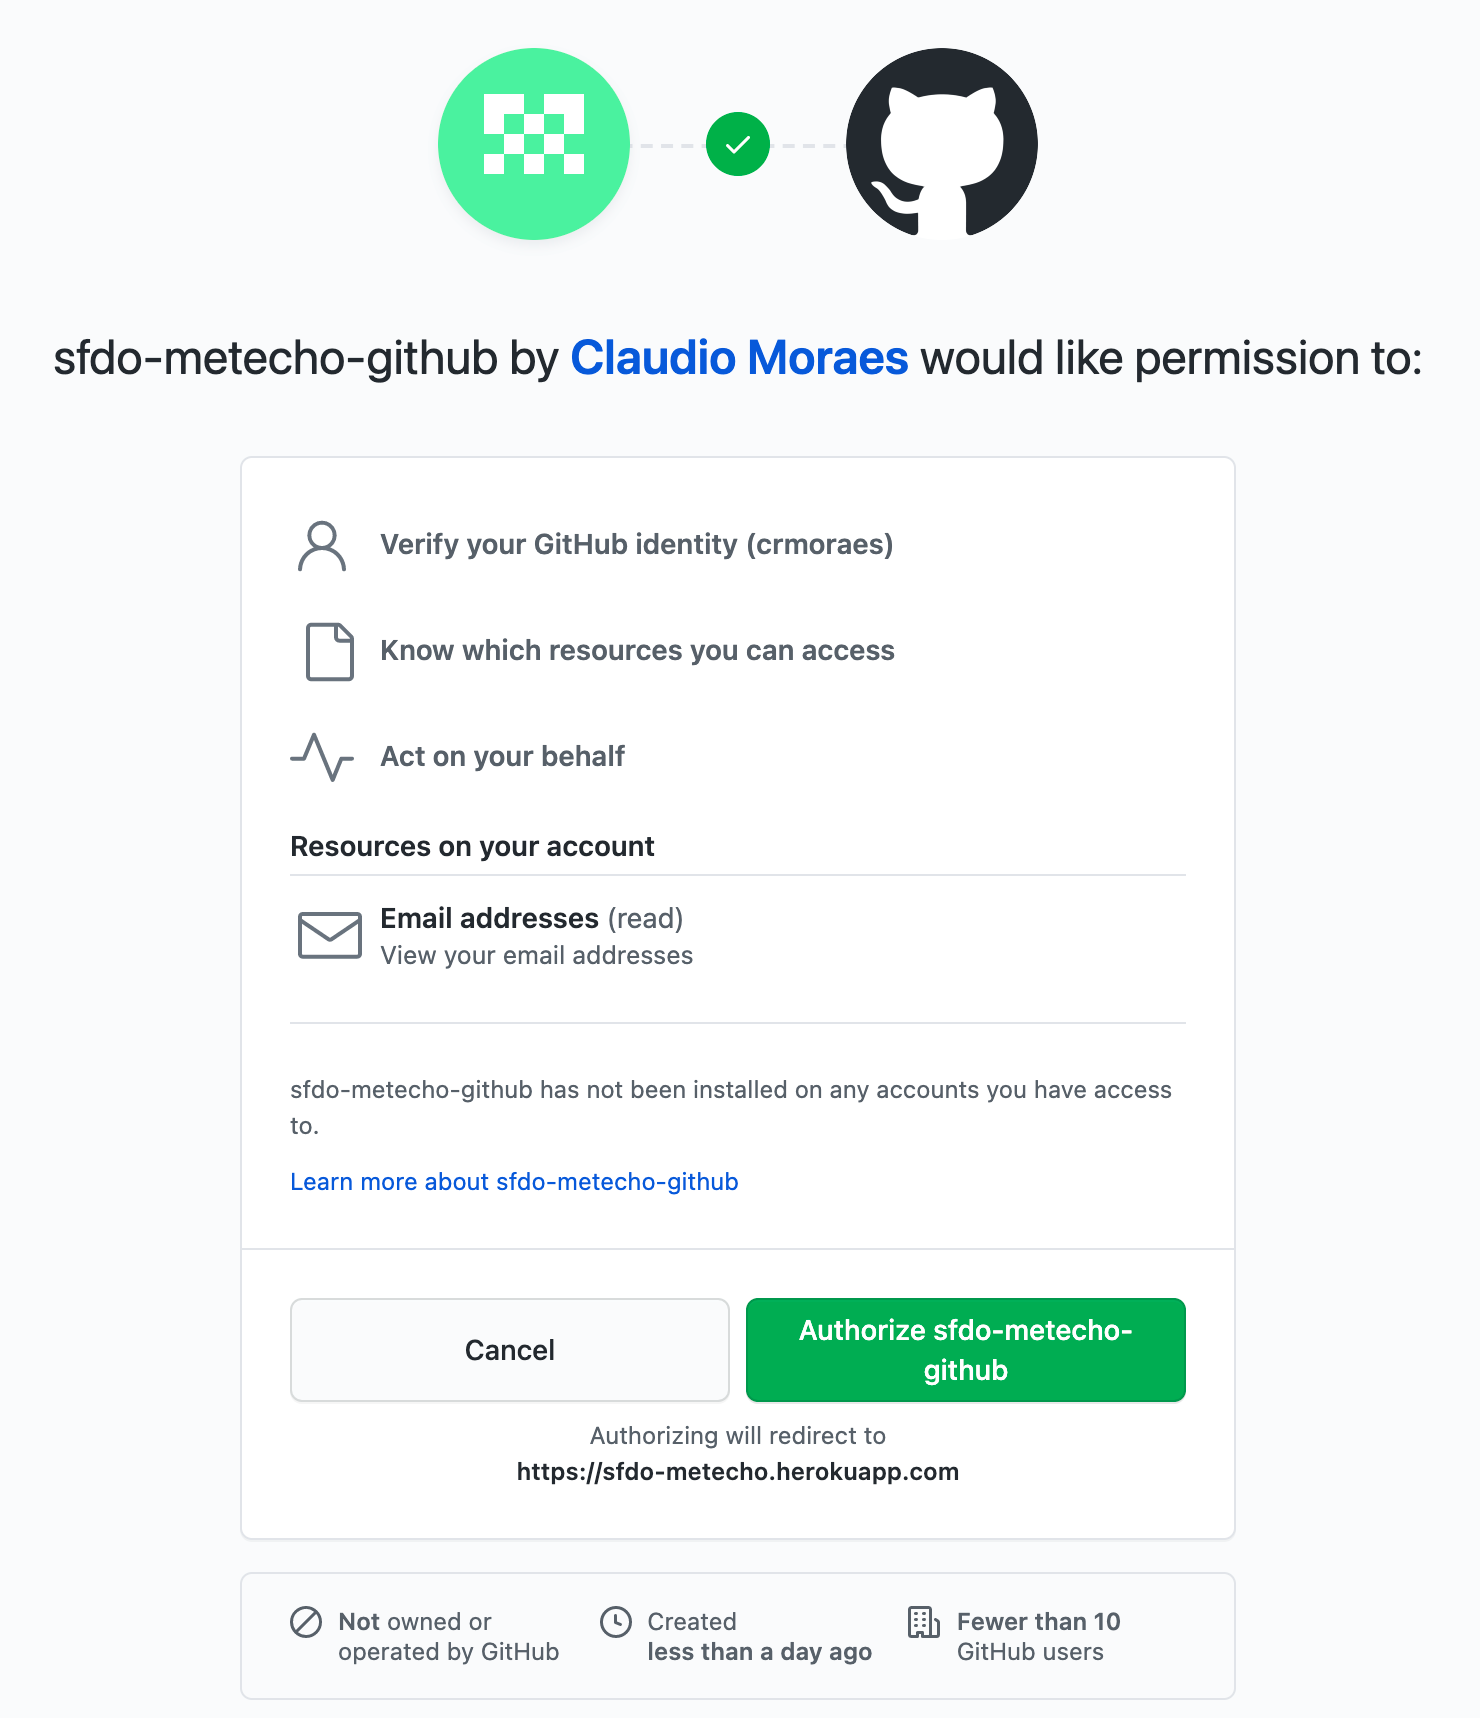
Go to the app and use the Log In button to log in using a GitHub user.
To turn this user into a superuser, run:
heroku run ./manage.py promote_superuser USERNAME -a APPNAME
(Replace USERNAME with the GitHub username you used to log in, and APPNAME with the app name.)
Set up a Metecho project
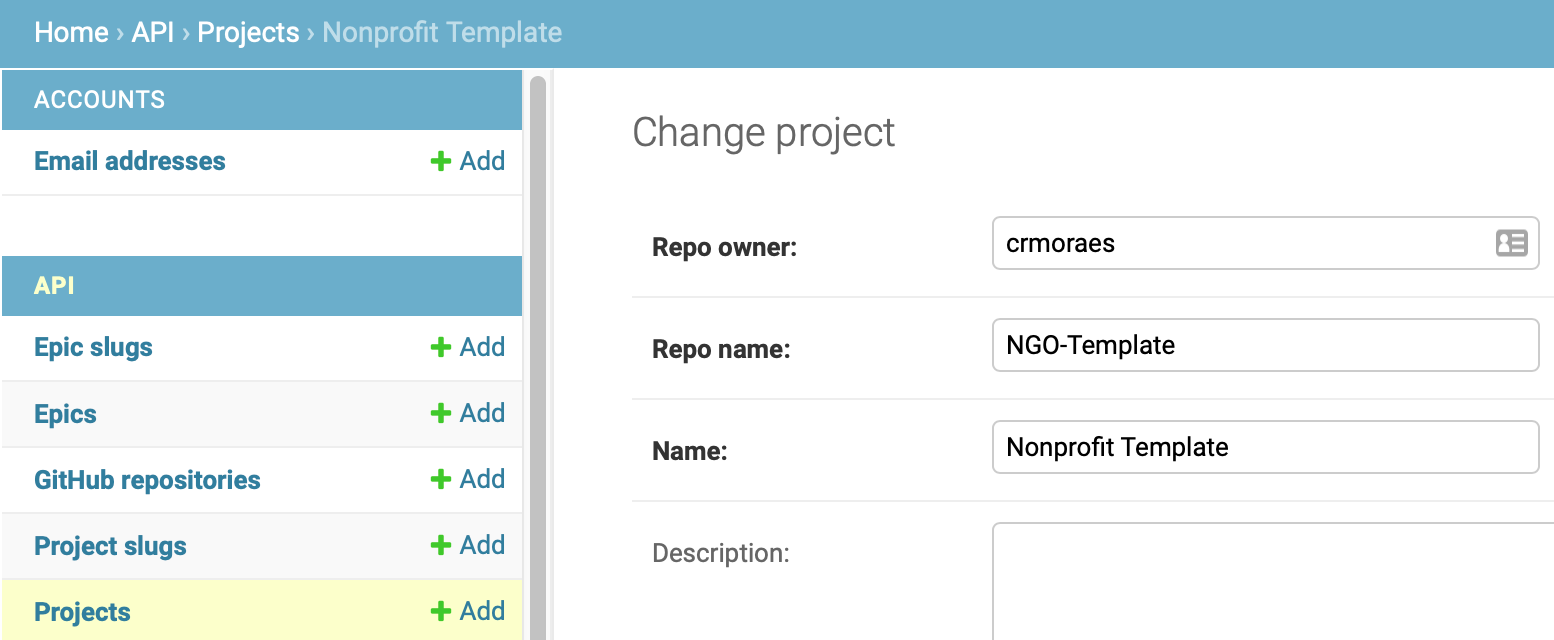
Go to the admin UI (/admin by default, or the value you set in DJANGO_ADMIN_URL) and add a Project (which is actually pointing to your GitHub repository).
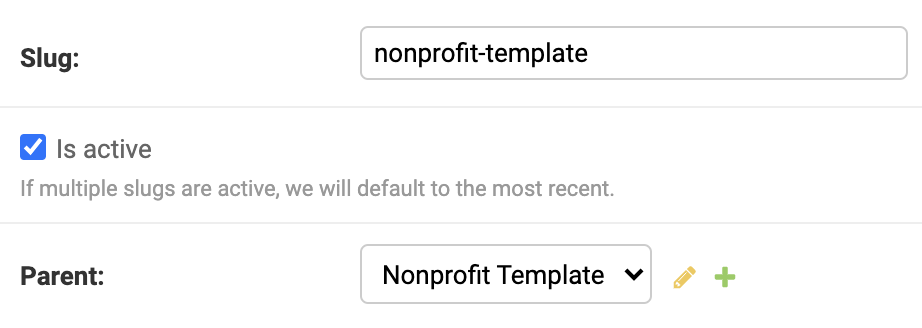
When you create a new Project, a new Project Slug associated to your new Project is also automatically created.
You should now be able to work on this Project in the Metecho UI.
Metecho - Optional Settings
Scratch Org Creation
To make all users share a single Dev Hub for creating scratch Orgs, set the DEVHUB_USERNAME config var to the Salesforce username of a Dev Hub user who has approved the Connected App created above. If you don’t do this, each user will need to connect their own Dev Hub through the UI.
Git Branch Prefix
If you’d like Git branches created by Metecho to use a common prefix instead of the feature branch prefix configured in cumulusci.yml, set the BRANCH_PREFIX config var. (Example: set it to metecho/ to create branches that start with metecho/ instead of feature/).